
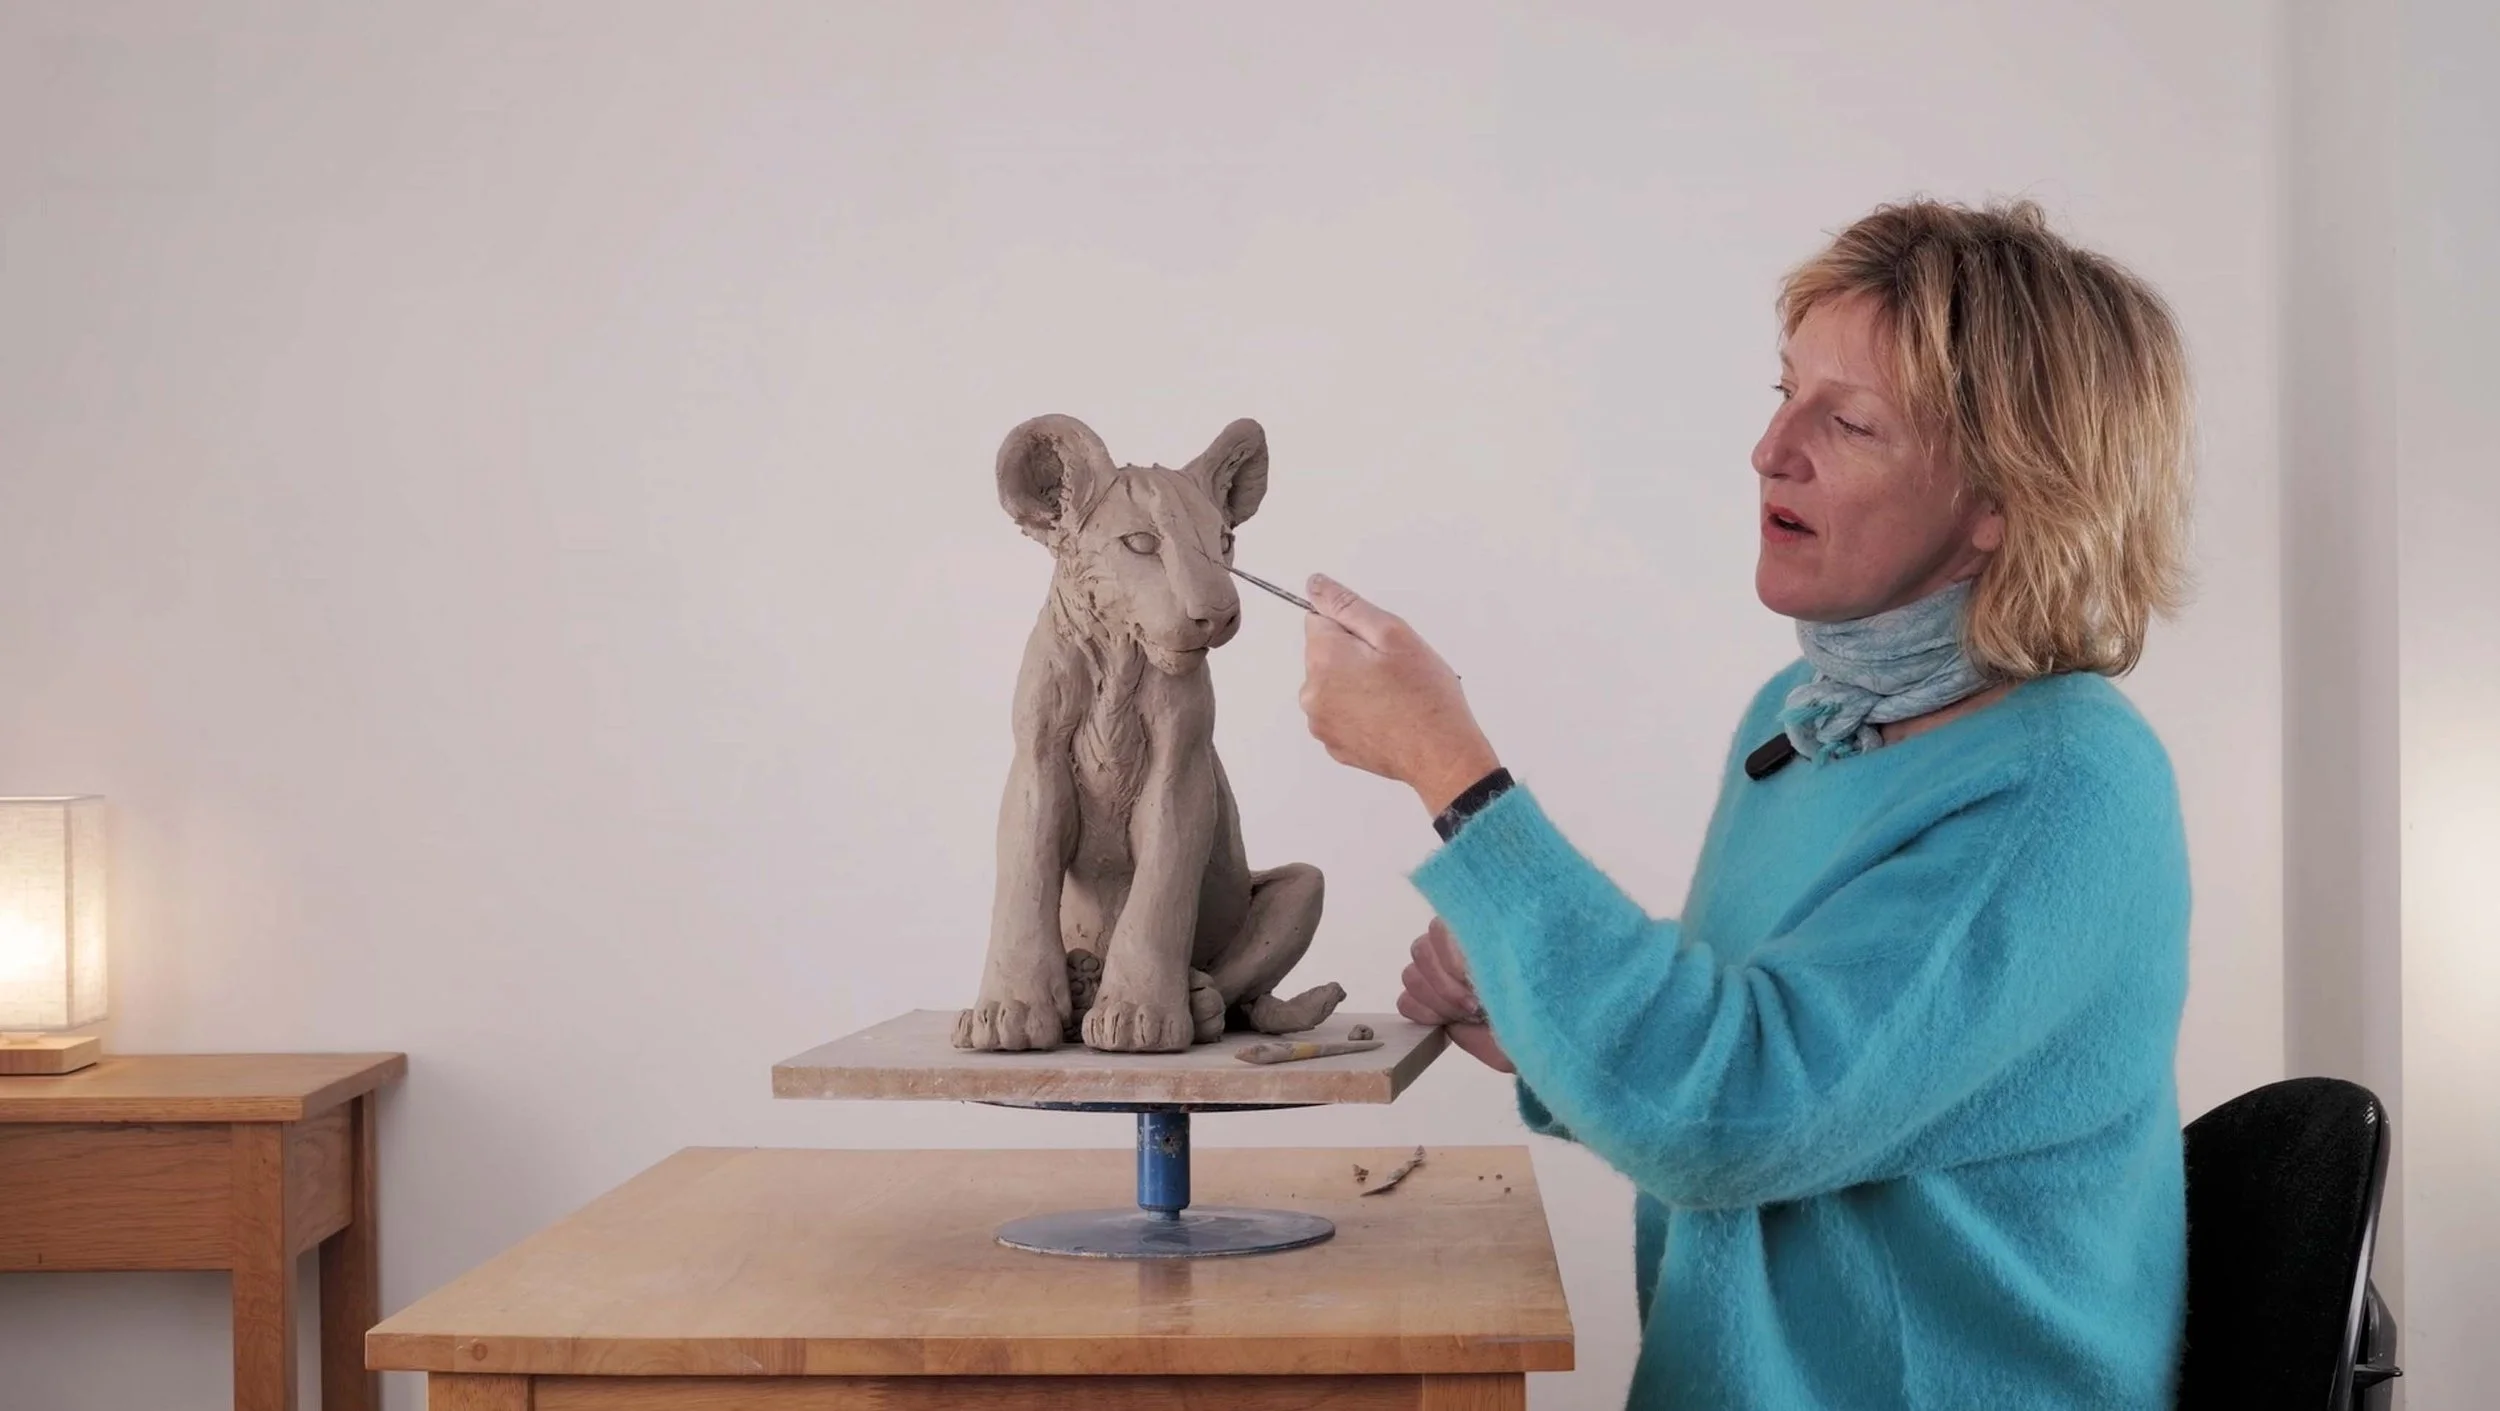
Introduction to Animal Sculpture
You asked, so we made it. An online video workshop taking you from start to finish. Everything you need to bring your very own animal sculpture to life.
Join the Nick Mackman Animal Sculpture Workshop Community Group
Support: nickmackmanworkshops@gmail.com
-
Introduction to Animal Sculpture
-
01 Introduction
Nick introduces the course, the animal we’ll be sculpting and what to expect.
-
02 Photographic References
Nick explains the importance of working from accurate photographic references, how to use them and we supply of package of images to get you started.
-
03 Tools of the Trade
Nick explains the essential tools, equipment, clay and other materials you’ll need to complete the course, where to get them and how to use them.
-
04 Roll with it
Nick introduces her unique slab building method and we begin making the basic body parts for our sculpture.
-
05 Body Work
We continue slab building with the construction of the main body of the animal. We then move on to the basic formation of the head.
-
06 Body Parts
We begin assembling our body parts, perhaps the most exciting part of the whole sculpt. We begin by attaching the back and then the front legs, and Nick introduces the use of props.
-
07 Get a Head
At this crucial stage in the sculpt, we attach the head to the body. Nick shows us how to carefully knit all the parts together, smoothing over all the joins, and introduces us to the importance of body proportions.
-
08 It's a Wrap
At this point in your sculpt, you’ll be ready to take a break, which means you’ll need to wrap your piece. Nick shows you how to do this to keep the clay hydrated.
-
09 Body Mapping
In this section, we delve deeper into form and proportions. Nick’s shows you how to map out sections of the sculpture to help ensure you work is balanced and proportional.
-
10 Refining the Surface
In this section, we begin refining the surface. Nick explains which tools to use and demonstrates the techniques that will help you reveal the form of your sculpture.
-
11 Heads up
It’s time to give some attention to the head. Nick explains how to refine the face, check angles and proportions. We begin modelling details in the eyes and ears.
-
12 Face Lift
In this lesson, we check and correct the position, angle, size and detailing of the eyes. We open up the nostrils, round off the chin and define the mouth, giving depth and shape to the face.
-
13 Paws for Thought
Now we need to give some attention to the paws, creating the toes and dewclaws. Nick shows how to define these features and give the impression of the animal’s weight sitting on the paws.
-
14 Defining the Body 1
It’s time to begin really defining the body, adding clay as needed to smooth over bumps and fissures and define muscles and tendons. Nick demonstrates various tools and techniques.
-
15 Defining the Body 2
We continue defining the body, cleaning up, refining and smoothing the surface, and defining details, but working now on the other side of the sculpture.
-
16 Muscle and Anatomy
We continue refining the piece. Nick demonstrates the tools and techniques she uses to smooth and refine the surface of the muscle groupings. She explains how an understanding of the animal’s anatomy informs this process.
-
17 Symmetry and Balance
Symmetry is critically important in animal sculpture. Nick shows how to check your piece is symmetrical and balanced, and demonstrates various methods for manipulating the clay to make any necessary adjustments.
-
18 They Eyes have it
Nick adjusts the head to correct the angle and convey behaviour and narrative. She then shows you how to shape and add the eyeballs, using the eyes to reinforce mood and expression.
-
19 Upside Down
It’s time to turn things upside down. Nick carefully inverts the sculpture and shows you how to tidy up the underside of your sculpture, ensuring all joins are smoothed over and any details are well resolved.
-
20 Finishing Touches
In this final session, we put the finishing touches to our animal sculpture. This is our last chance to correct any remaining errors, refine the details and make any final adjustments.
-
21 Next Steps
We hope that you’re pleased with your finished animal sculpture! Now that the sculpt is complete, Nick explains your options for next steps in terms of firing, finishing - or even casting.
-